|
Investigations
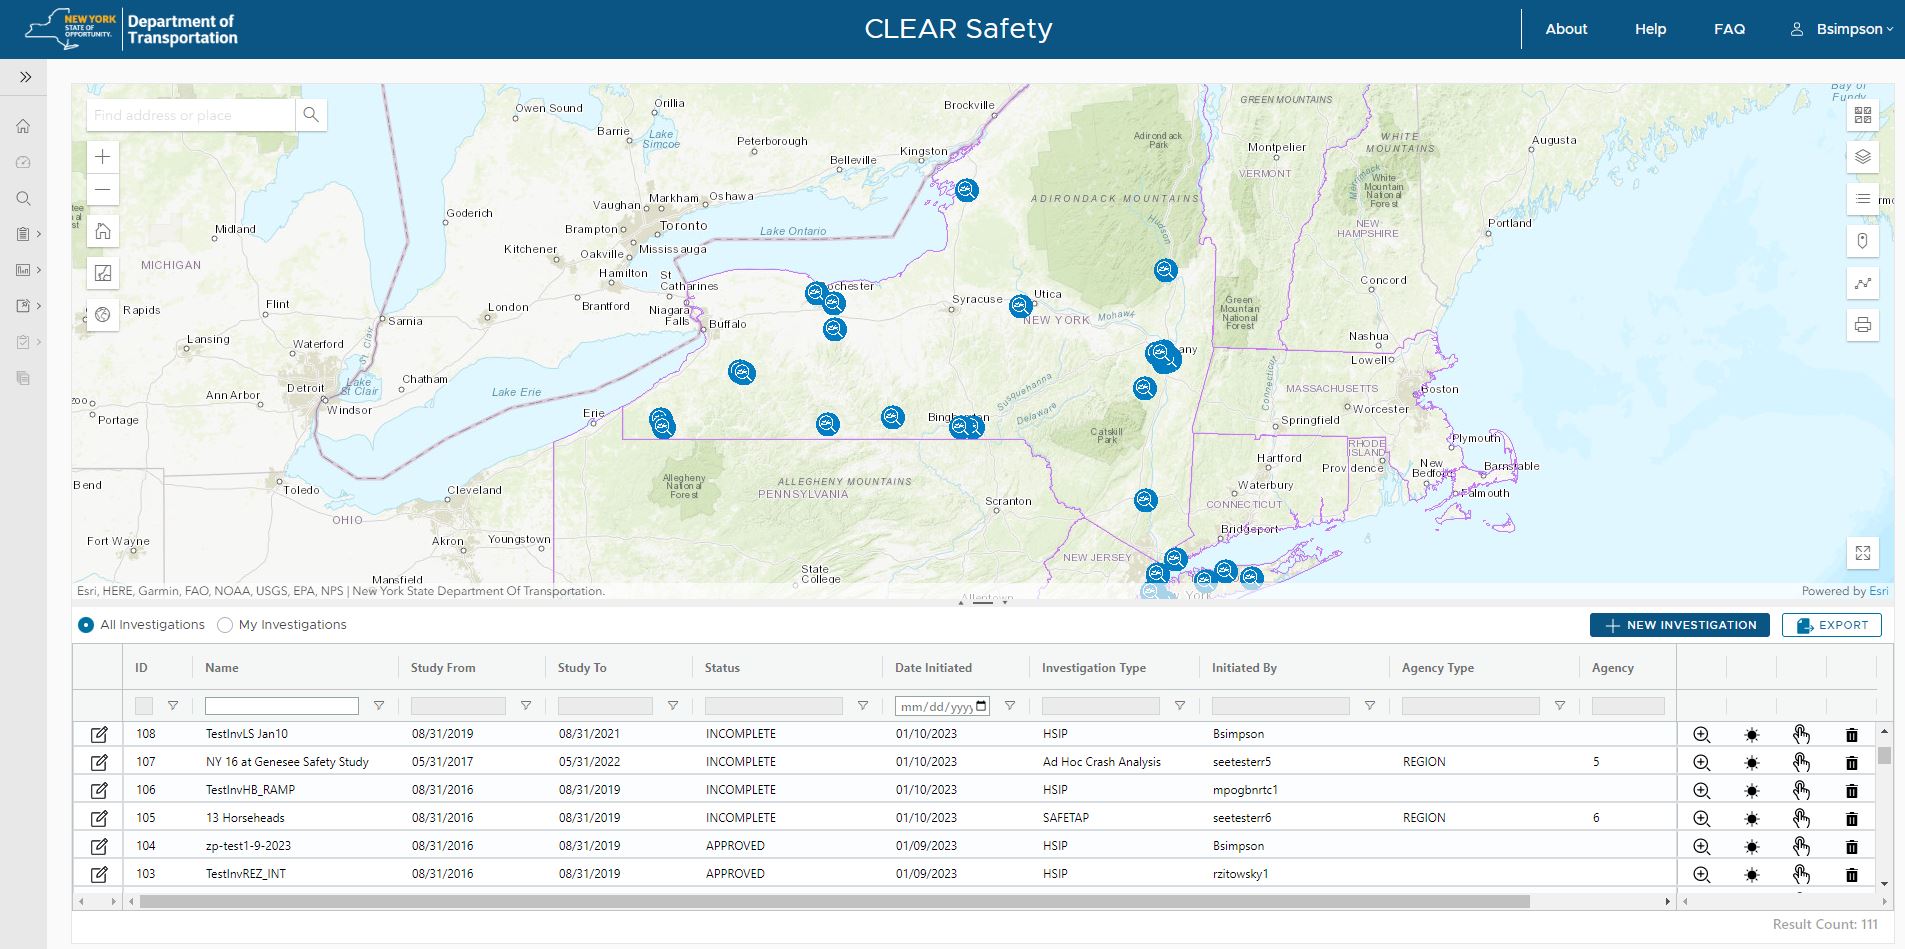
When the Site Analysis>Investigations menu is selected, the Investigations page is displayed providing a grid showing all investigations that have been conducted, while the map display at the top of the page shows the location of each investigation.

Identifying an Investigation on the Map
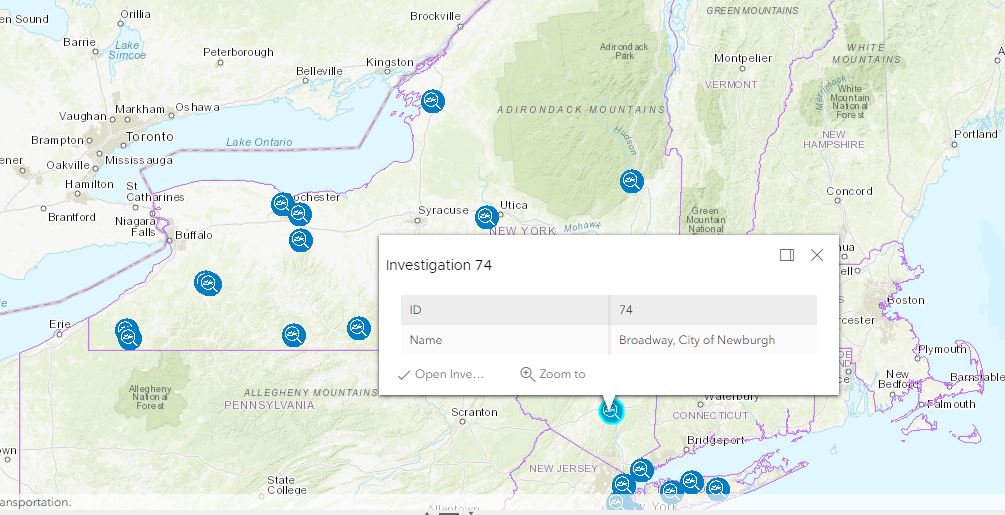
The investigations displayed on the map can be clicked to identify the name of the investigation. When an investigation is clicked on the map, a callout box is displayed which lists the investigation name and id number as shown below.

The callout displays two buttons which allow the user to Zoom to the investigation, as well as to Open the investigation wizard for the selected investigation.
Filtering the Investigation Grid
Clicking the "My Investigations" radio button at the top of the grid allows the users to filter the grid display to only show the investigations that the current user has created. The "All Investigations" radio button will show all investigations the user has access to see based on their role and privileges.
Opening an Investigation
Clicking the Edit button on the far left column of the grid opens the investigation for further editing/modification.
Zooming to an Investigation
Clicking the Zoom button (magnifier icon) on the right side of the grid zooms the map display to the location of the investigation
Flashing an Investigation
Clicking the Flash button (black star icon) on the right side of the grid flashes the investigation on the map display
Viewing the Recommendations for an Investigation
Clicking the View Recommendations button (finger icon) on the right side of the grid changes the grid to show the recommendations for the investigation
Deleting an Investigation
Clicking the Delete button (trash can icon) on the right side of the grid deletes the investigation
Exporting the Investigation List
Clicking the Export button above the grid will export the grid of investigations to either a CSV file or Excel file
Creating a New Investigation
Clicking the New Investigation button above the grid will launch the Investigation wizard allows the user to create a new investigation
Completing an Investigation
When an investigation is in progress, its status is considered "Incomplete". The status can be viewed as a column in the grid on the Investigations main page. Once an investigation has been conducted resulting in one or more recommendations, the analyst should mark the investigation as "Completed". This flags the investigation to the rest of the organization that the investigation is done and complete and is ready for review and approval. Click this link to learn how to complete an investigation.
Approving Investigation
Once an investigation has been marked as completed, the supervisor (e.g., RTE) should then open the investigation for review and approval prior to implementing the recommendation(s). Click this link to learn how to approve an investigation.
Generating Project Support Documentation (PSD)
The various components of an investigation can be exported as a single document package (PDF) which is referred to as "Project Support Documentation" (PSD). This is especially important when an investigation results in recommendations that will be implemented as a capital project that will go through the design and construction workflow. However, the PSD package can be exported from an investigation at anytime as a reporting mechanism. Click this link to learn how to generate project support documentation.
|